Tag Archives: diy with digital fabric

Snippets: Chats With Creatives, Textile Designer Beck Ng – Series 3, Snippet 1

Snippets. Chats with Creatives.

Here at Digital Fabrics we love everything print, pattern and colour and we love to know what makes print designers tick.

This series we are focusing on textile designers as our creatives to get into the nitty gritty of the thing we love the most, textiles and surface design! We have asked a different set of questions relative to this and as always we hope to inspire others by sharing snippets of these creative stories.

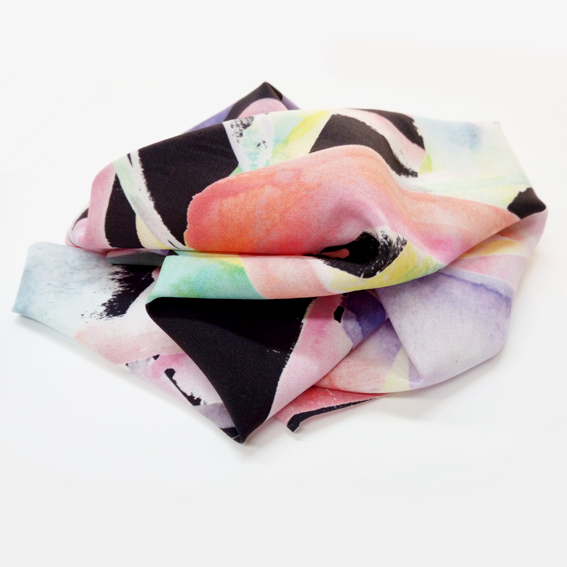
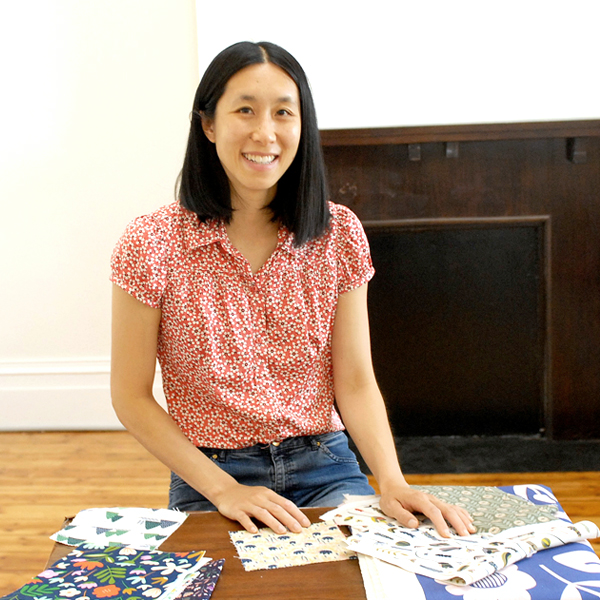
Today we are chatting to Beck Ng from Fabric Drawer, a Melbourne based surface designer and maker who has a passion for pattern! She creates prints often inspired by nature and the things she has seen and done throughout her life, these are available for license or purchase. She also makes things from her printed fabrics and sells them at markets and online here

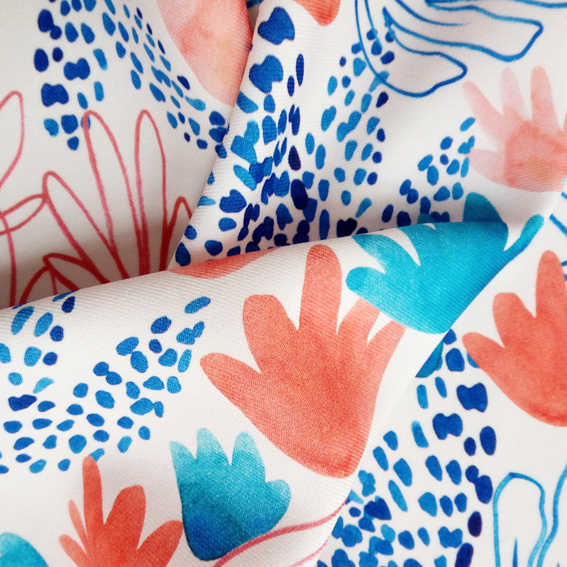
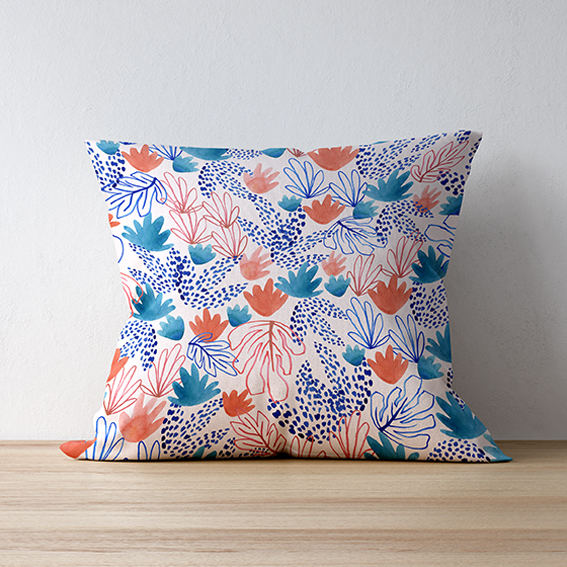
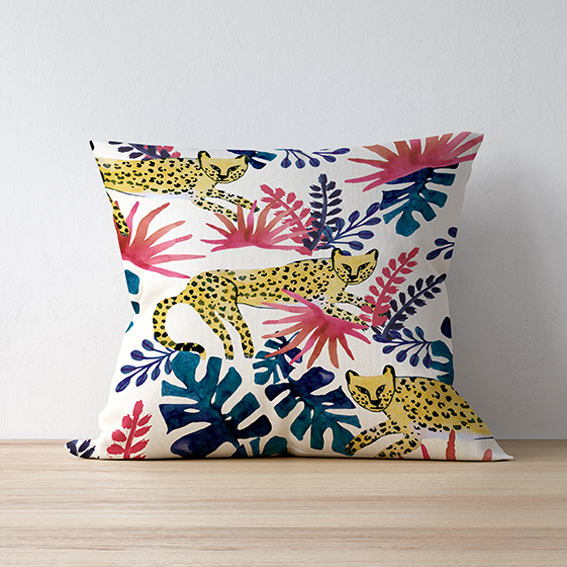
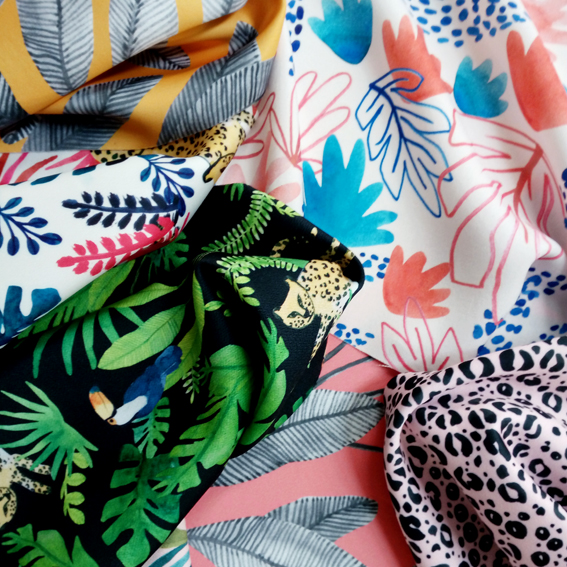
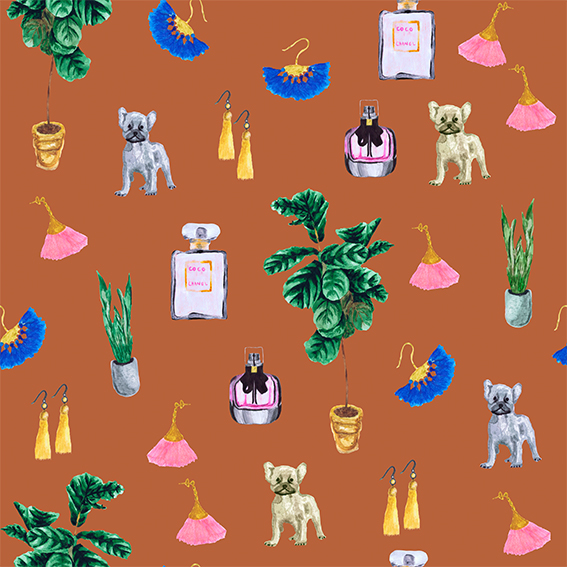
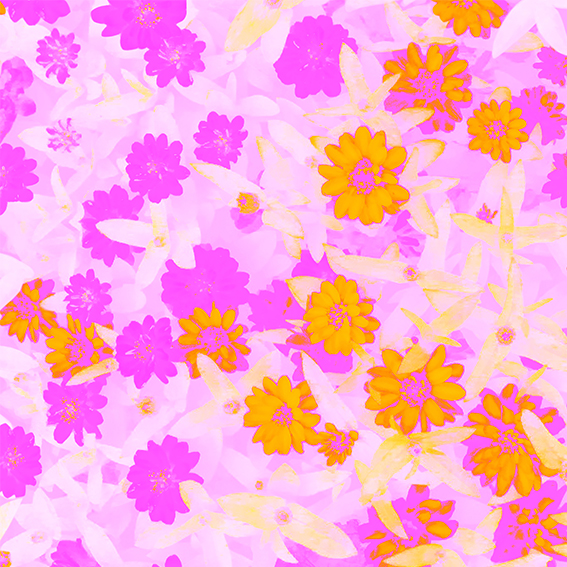
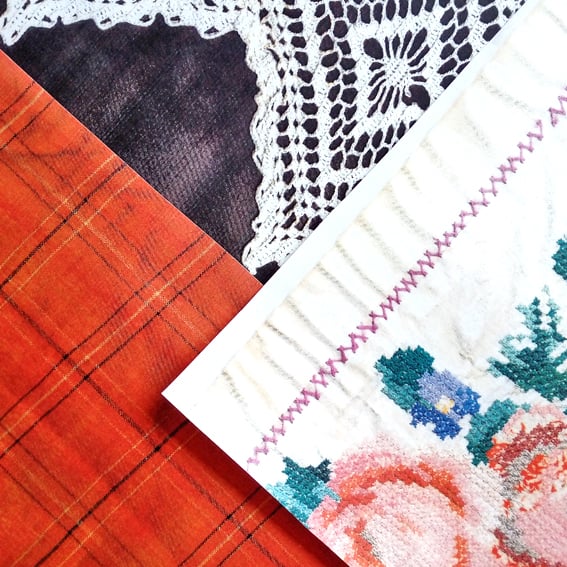
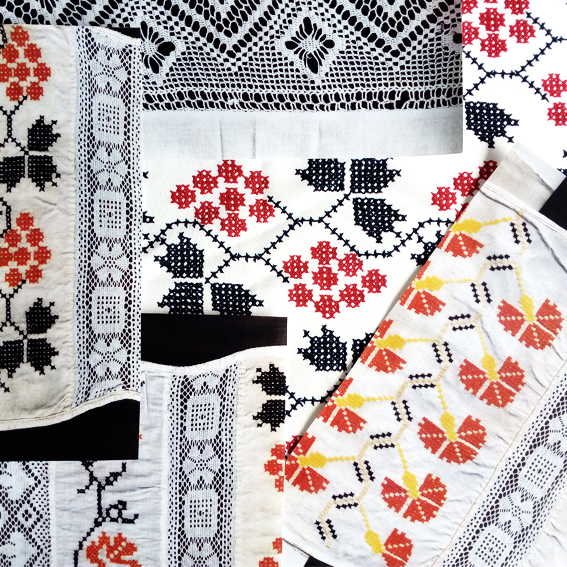
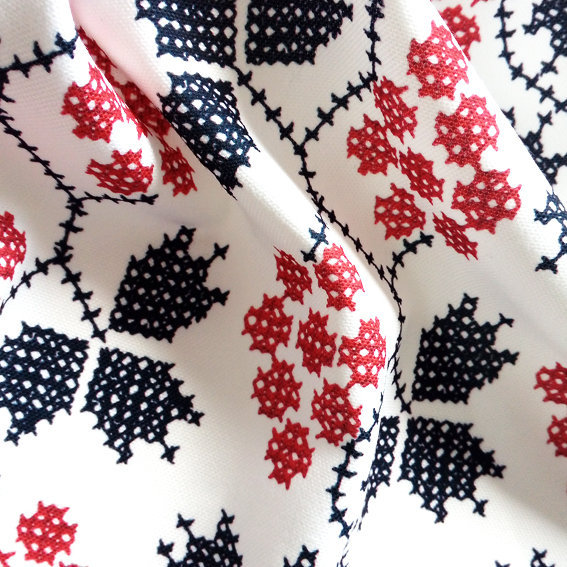
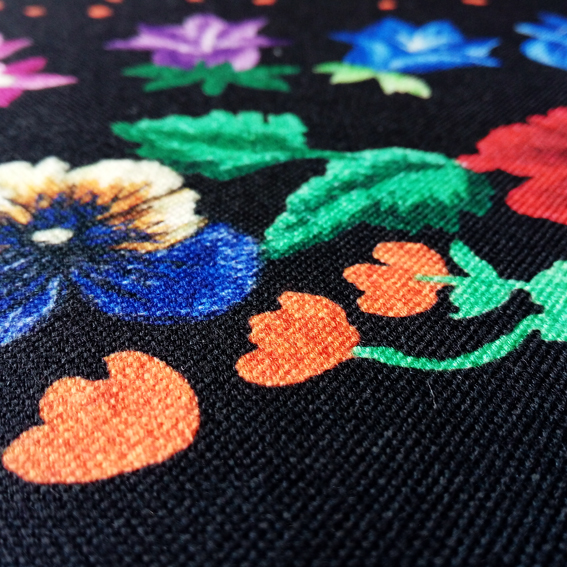
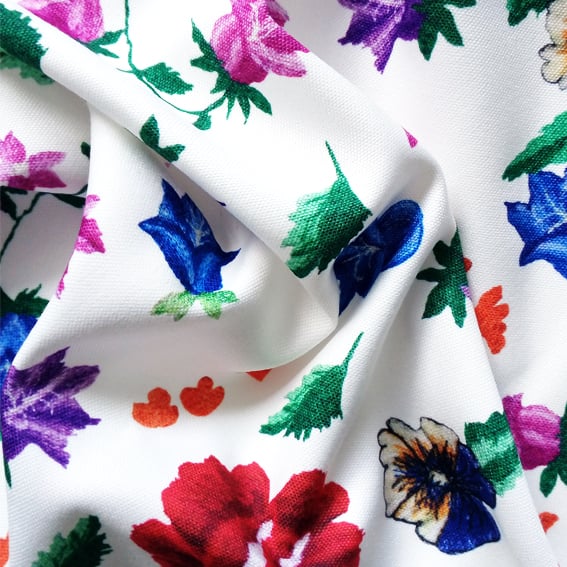
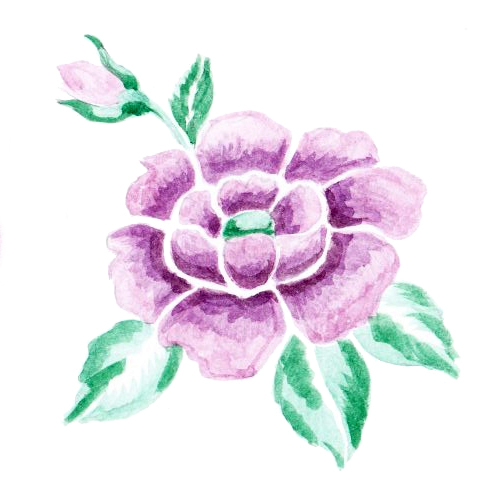
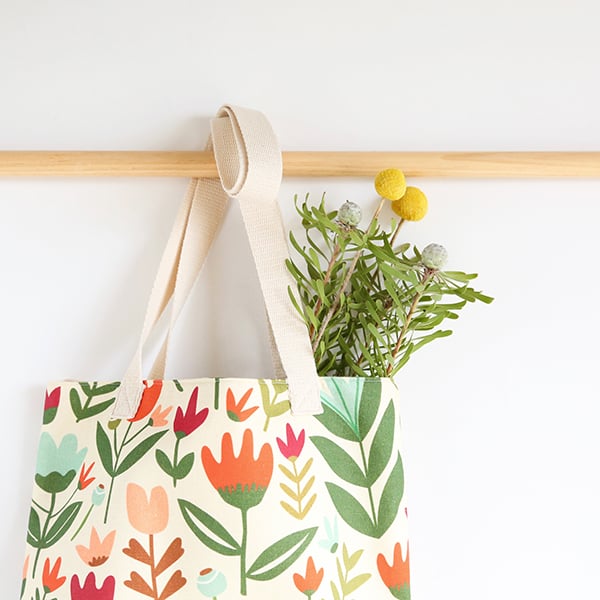
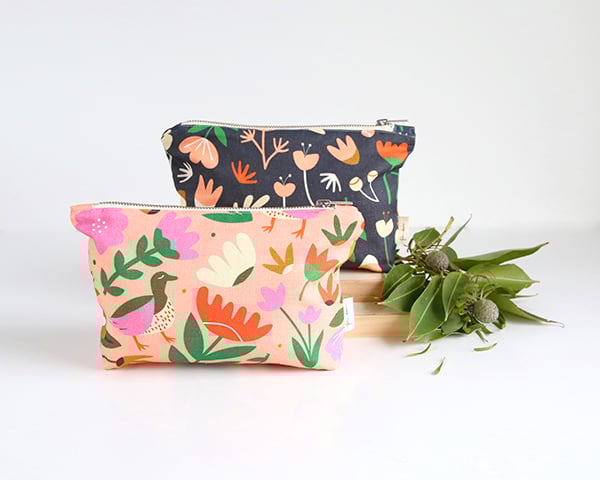
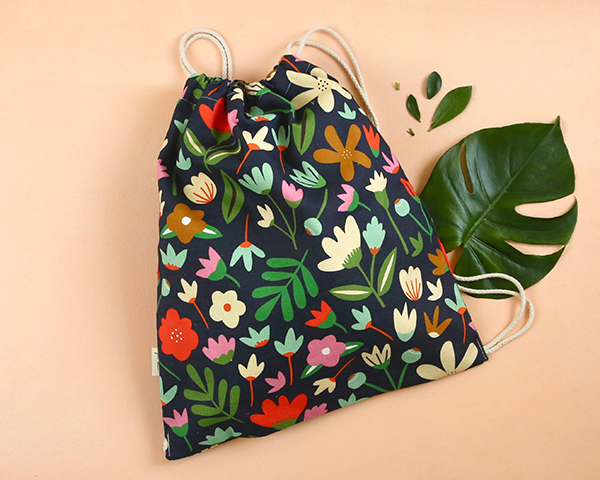
We love her style, whimsical and folk like florals that look great on our favourite thing, fabric! Her work has been featured in lots of awesome places including the Print and Pattern website, the latest Flow Calendar and she is currently a finalist in the Frankie Good Stuff Awards so you can vote for her here!

Fabric_drawer_digitalfabrics_textile_design_surfacedesign_fabricprinting_4Tell us a bit about yourself, your brand/label name what your creative practice is, how and when you began:

I’m a designer, maker, mum and pattern lover from Melbourne. My creative journey started in graphic design, but took a side step into patterns when I started a textiles course. I created the label Fabric Drawer (in 2012) to showcase my love of patterns, for licensing and also for use on my own range of products. I started out designing patterns and didn’t begin making my own products until a few years later.

Having my own business allows me to create my own style of work and turn it into a product that people can purchase and take home (or gift!). So far, I make each and every product myself and have been committed to sourcing materials locally where possible. I also enjoy the process of licensing my work, which means I work with clients to have my designs on their products. I really enjoy being involved in all facets off my creative business; it’s a never ending learning process!

Fabric_drawer_digitalfabrics_textile_design_surfacedesign_fabricprinting_11Where do you call home and what is your favourite thing about where you live?

I live in Melbourne, close to the city and I enjoy the convenience of being able to walk, bike or tram to most places.

What 3 words best describe your creative style.
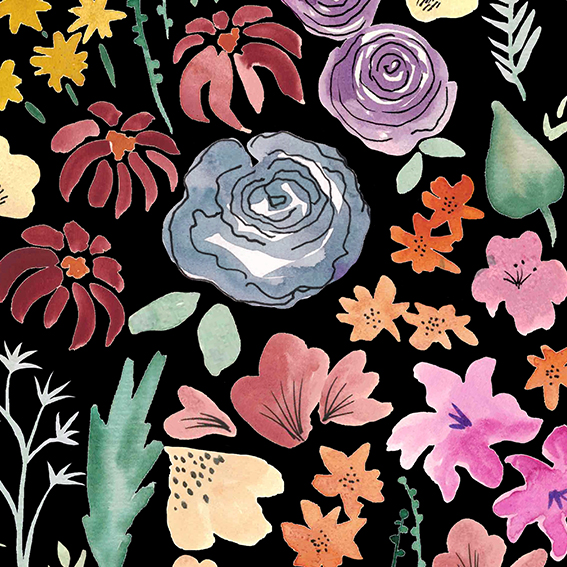
Inspired by nature

Fabric_drawer_digitalfabrics_textile_design_surfacedesign_fabricprinting_9Tell us a bit about what kind of studio, space or practice you run? Do you sell online or license your prints, do you do commissions or lots of freelance and what do you like doing the most?

My creative business does a little bit of everything. I license my designs, make products from my work and sell at markets around Melbourne.

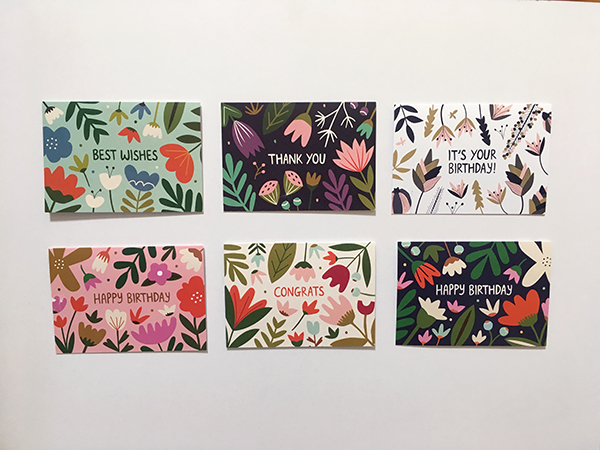
I started out in art licensing through an art agent in America. They represented me for almost 3 years and I was fortunate to have my work sold/licensed on products such as greeting cards, party ware, gift bags and wall art. I have learned a lot about the art licensing industry and am finding it an area I’d like to get more and more into. It’s still a big learning curve for me and it’s certainly challenging finding my own licensing opportunities without an agent.

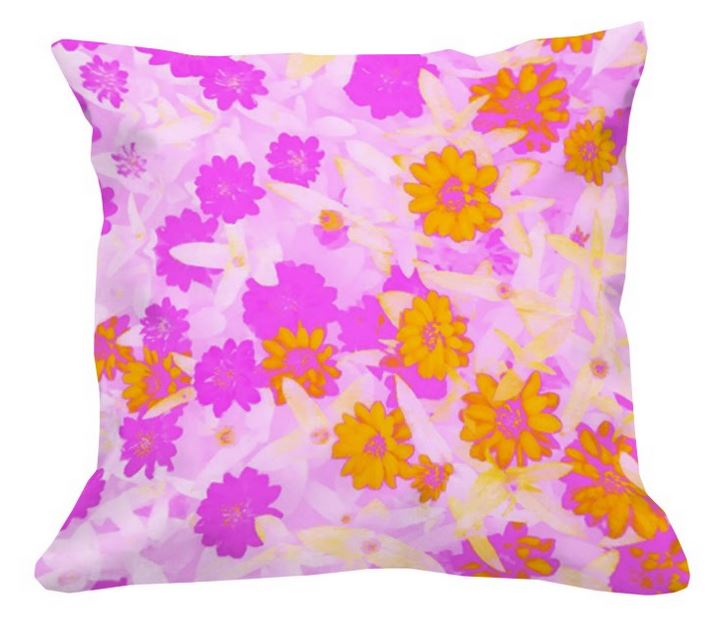
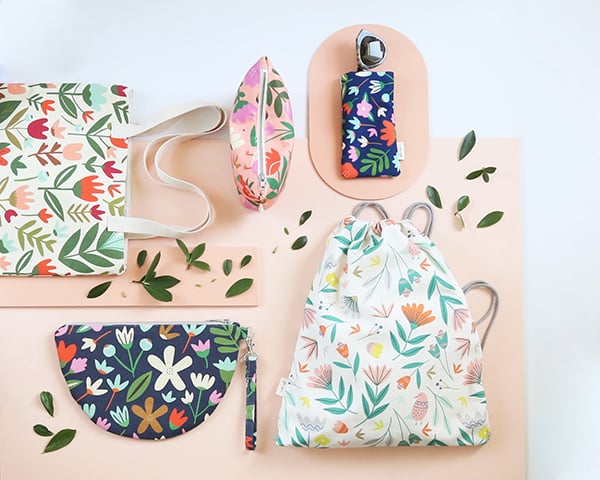
Outside of the licensing, I have made my own collection of products from my patterns. I’ve been doing this for about three years now, starting out very small by sewing a few products and selling them at markets. Initially I didn’t sell very much, but as I kept going, I started to sell a bit more at each market and have now been able to be part of some of the larger design markets in Melbourne. I sew everything myself, which is a very time consuming process, but has been the best way to make small quantities and keep things local for now.

I find licensing and making products both a rewarding process and I think that having my own range of products has helped the licensing side of the business.

Fabric_drawer_digitalfabrics_textile_design_surfacedesign_fabricprinting_10Fabric_drawer_digitalfabrics_textile_design_surfacedesign_fabricprinting_5Tell us about your creative space, what are your tips for keeping a creative studio space organised? What would your dream space look like?

To be honest I don’t have much of a creative space. I have seen pictures of other creative studios, and I love the idea of a light filled space, with your computer on bare desk and pieces of your work and work that inspires you decorated around the wall and studio. In reality, I work in my bedroom, lounge room, dining room (I have a laptop) and small nook in a room (for sewing). It’s not very glamorous, but I guess I wanted to share that so people realise you don’t need the perfect set-up to get started and be creative. Sometimes constraints are needed so you can focus on creating. That said, I wouldn’t mind the type of studio space I described above!

When designing a new surface design collection or set of work what is your process and how long might you spend on this?

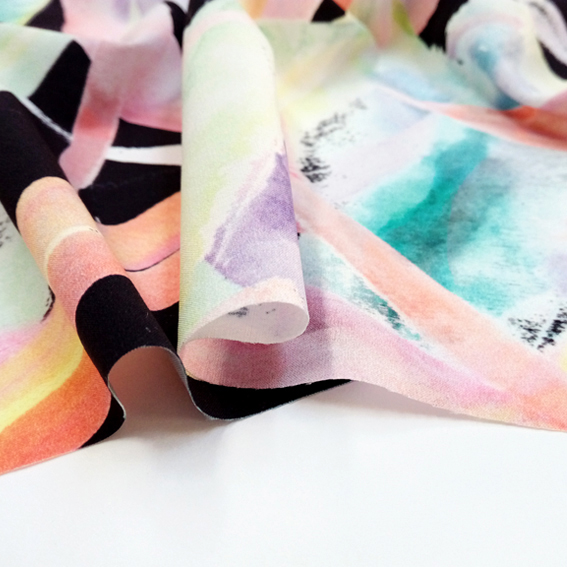
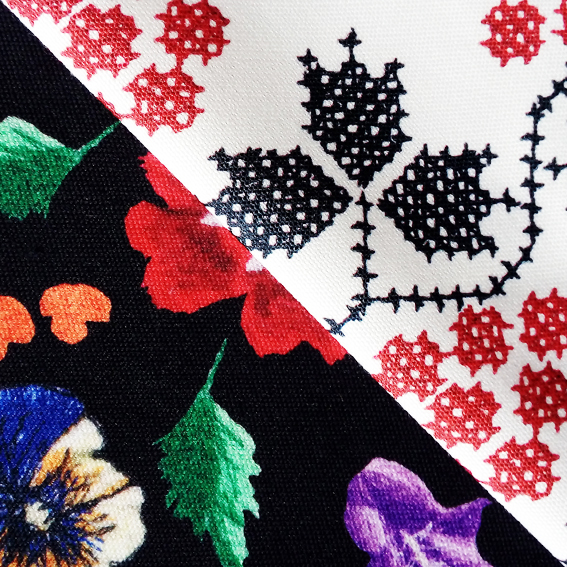
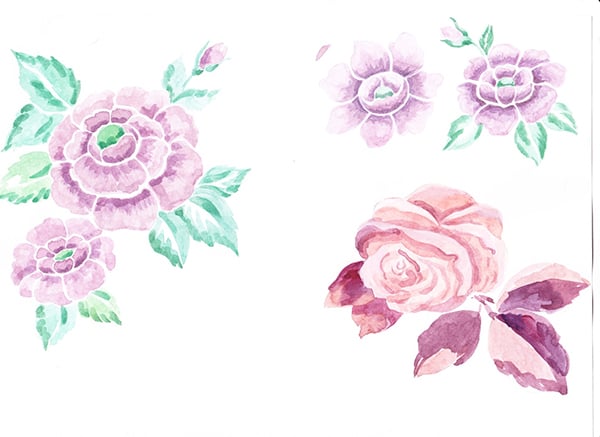
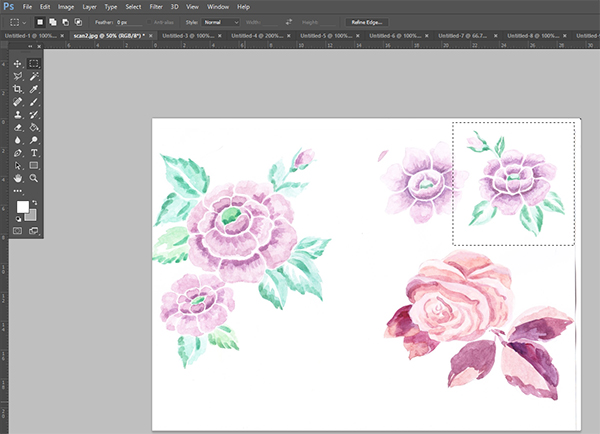
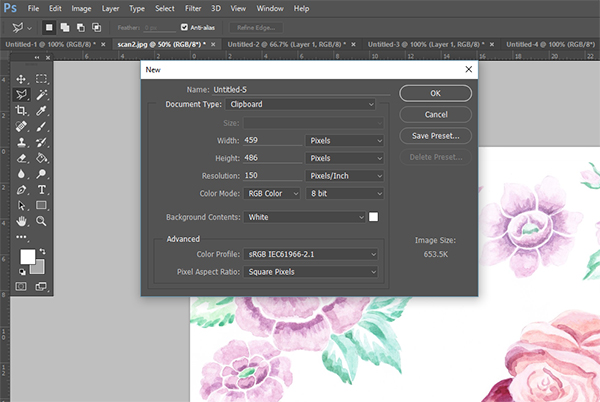
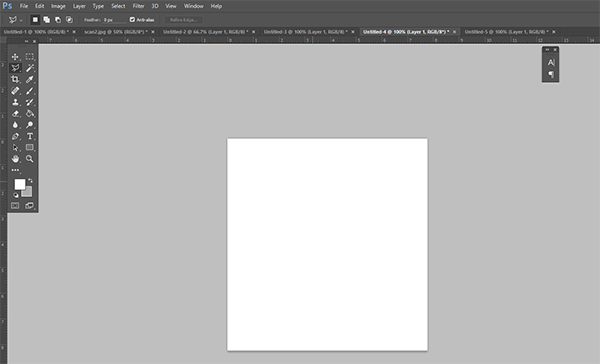
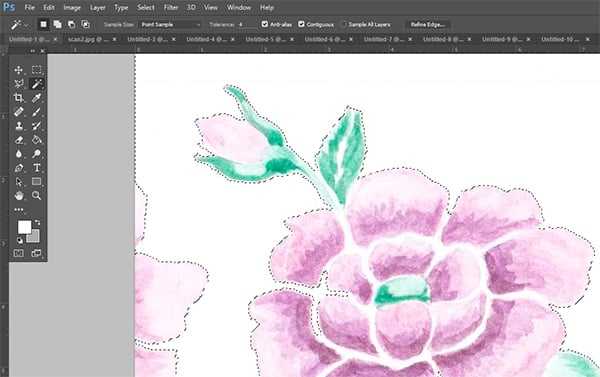
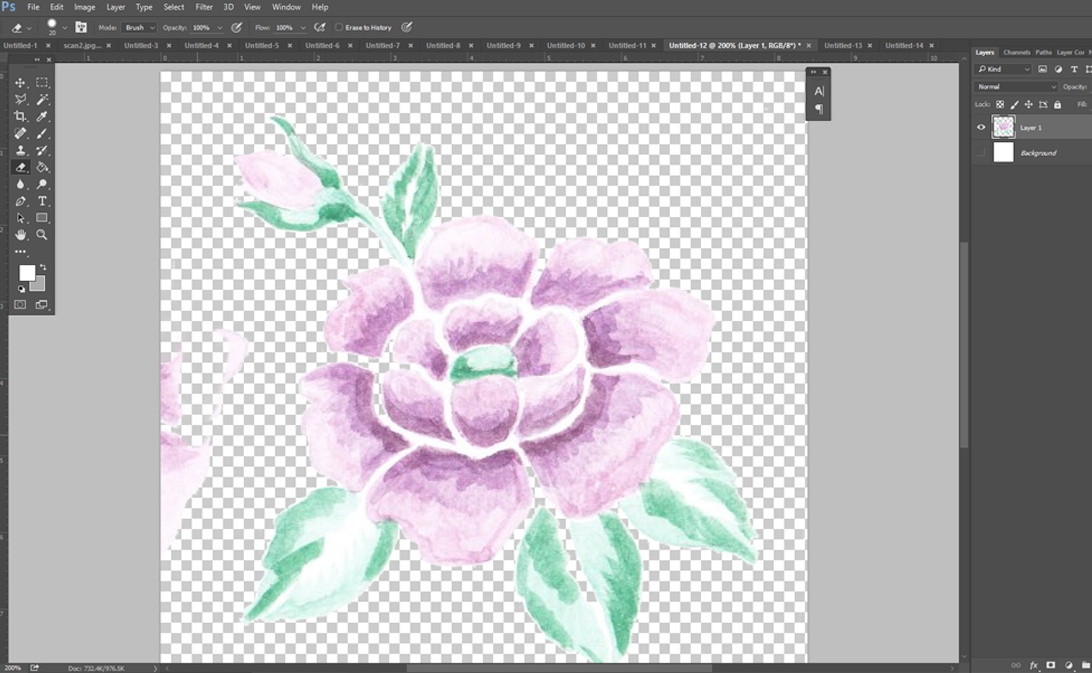
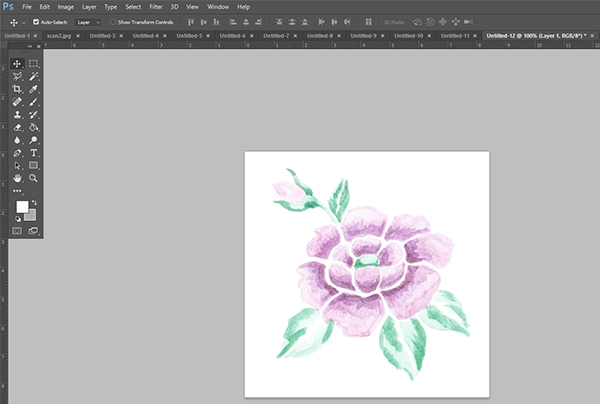
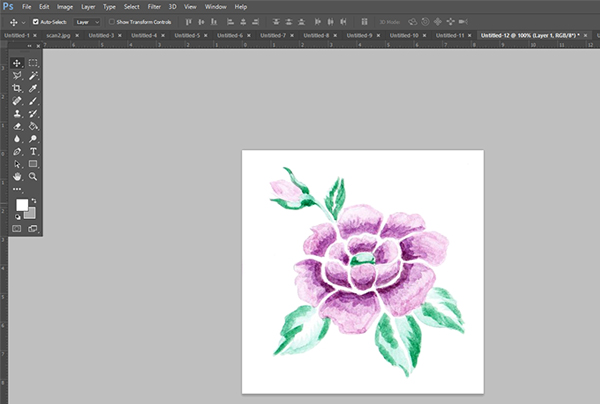
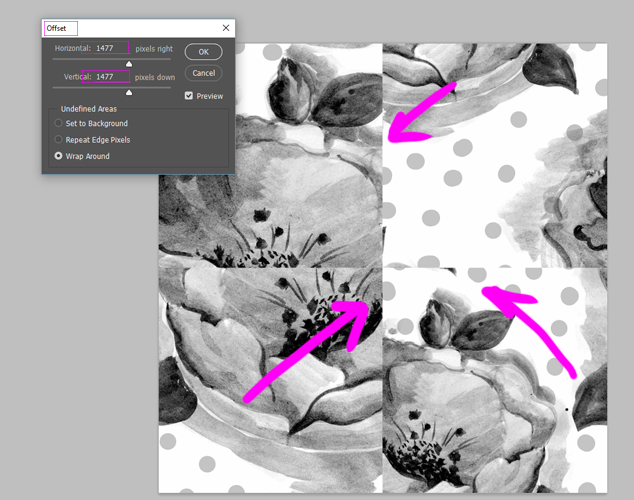
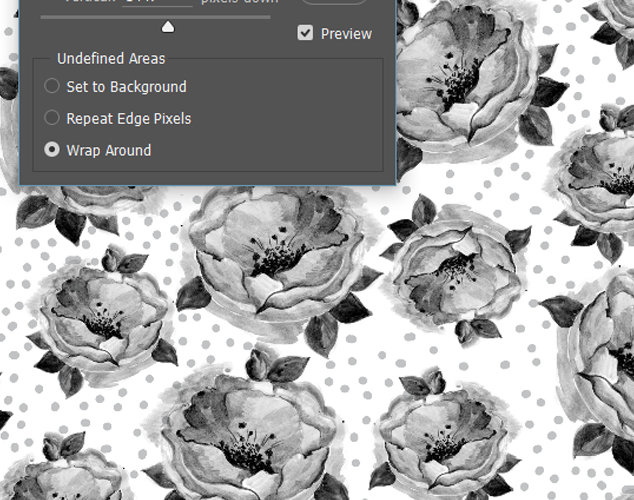
I keep it pretty simple and start out my patterns by drawing on regular plain white paper with a pen or pencil. It’s good to have a bit of a story or theme in mind, but I don’t always start that way. When I feel like I have sketched up enough motifs, I photograph them and bring them into my computer to start tracing them in Illustrator. I love using Illustrator because of the flexibility it allows to scale and change colours. From there I start working on the hero print, then build out the secondary and simple coordinates. I try to have a minimum of 5 patterns per collection. I have been known to put together a collection within a couple of weeks when I’m under a bit of a deadline, but it could take a month or months if I take my time.

Which part of the creative process is your favourite and why?

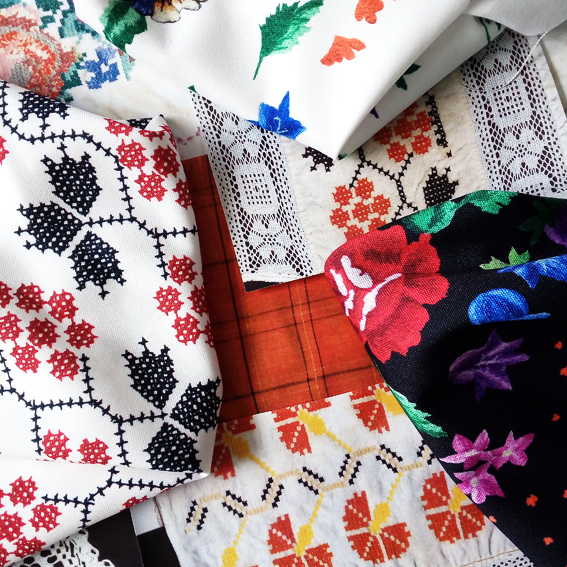
I really enjoy the process of piecing a surface pattern together. It’s feels a bit like a jigsaw puzzle; fitting each motif into the right space and then working on the right colour palette.

Fabric_drawer_digitalfabrics_textile_design_surfacedesign_fabricprinting_3What would you say is the biggest challenge when running your own creative business, what is your favourite and least favourite part?

Time! There is never enough time. I don’t work on my business full-time and never have. I have a part-time job as a graphic designer, sometimes I freelance too and have two young girls to look after. Usually I would have to work on my creative stuff when the kids are in bed, or if I have any small snippets of time throughout the day. I would love to focus on my creative business more, but the reality is I still need some bread and butter income.

My favourite thing about having my own business is that I can create whatever I like. As a graphic designer, you’re bound by what the client wants, so having my own work gives me the freedom to express myself creatively.

My least favourite part is social media. I feel like it’s a bit of a time suck, and am spending more time on it then I’d like. I do try to post regularly to share my work (because opportunities can come out of social media) and build my brand, but I kinda wish I didn’t have to.

What advice would you give an aspiring textile designer in today’s challenging and competitive environment? Are there any resources you would recommend or websites that you couldn’t live without?

I feel like being a creative is a bit of a labour of love, so you need to be passionate about what you do, because it’s not a huge money maker for most. Persistence and consistency is important. Keep creating consistently and by the end of the year you’ll have a good body of work. With licensing and collaborations, it can be a disheartening process, because it’s not that easy to sell or license your work, especially when you are starting out. Often you’ll contact companies and they don’t even respond! But keep persisting and asking around, while continuing to build up a stronger folio of work and through this hard work, things can start to happen.

Facebook groups can be immensely helpful connecting with other surface designers. I’m in a few surface pattern / licensing groups and it’s great way to get some advice. I’m part of a meet-up group of other designers who are specifically interested in licensing their art. Skillshare is a great resource for doing some short courses at a reasonable price. I did the Make It In Design Module 3 course, and I felt that was helpful to get me started. There are quite a few online courses, but they can be costly. I’d probably recommend starting with free or low cost options first and see where that takes you, before investing in an expensive course.

Fabric_drawer_digitalfabrics_textile_design_surfacedesign_fabricprinting_1

Fabric_drawer_digitalfabrics_textile_design_surfacedesign_fabricprinting_2What projects or collaborations from last year stuck out, good or bad and what is coming up over this year that you would like to plug!

I loved being involved in some of the bigger design markets, such as Markit, Finders Keepers and Makers and Shakers market last year. It’s great to be amongst other creatives and interact with customers directly, even though I’m quite an introverted person. It’s a lot of work though, preparing for markets when you make everything yourself, so I haven’t planned any markets for this year so far.

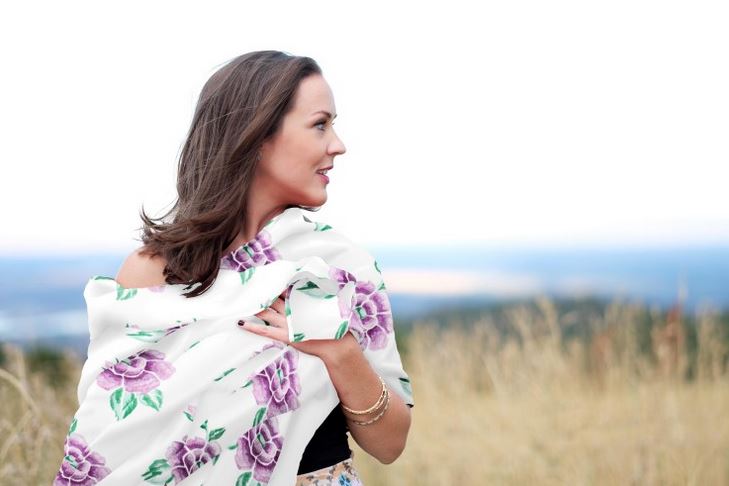
I also really enjoyed working with Apiary Made on their range of beeswax wrap designs. It’s been great to work with a local business whose values sustainability and ethically made products. I have collaborated with another couple of brands, but I will share the details when the product comes out as I’m not sure when this will be happening. Licensing can be a bit of a tough road, but I’m hoping I get to work with more clients in the future.

Where would you like to see your work featured?

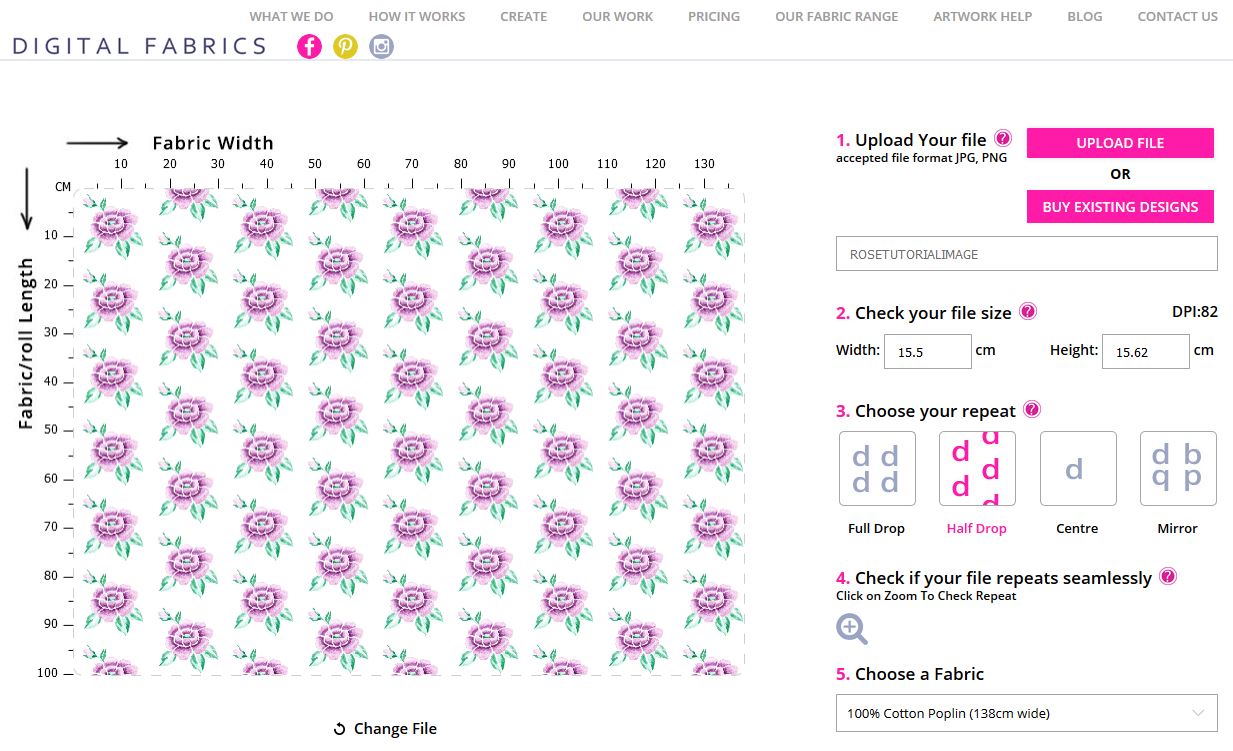
I would love to have my own range of fabric one day. I love the idea of seeing what people would make with my own fabric.

Fabric_drawer_digitalfabrics_textile_design_surfacedesign_fabricprinting_8 You can find out what Beck from Fabric Drawer is upto: Website, Facebook, Instagram

New Chevy Fabric

We have another very exciting addition to our fabric range which we are dying to introduce. Please meet our newest polyester fabric, the Chevy! We think this will be a particularly exciting launch for those with budding summer fashion projects!

Digital Fabrics_custom fabric printing_polyester fabric_chevy_2

Digital Fabrics_custom fabric printing_polyester fabric_chevy_3

Chevy is a polyester / spandex blend (92% polyester / 8% spandex) which provides the fabric with a little stretch. The small amount of stretch provides the fabric with some give, making it a really comfortable fabric to wear.

The fabric has an off-white base, with a chevron weave and a matte finish. The fabric’s composition and finish, results in strong colour reproduction when printed, making it an excellent choice for projects with bright and deep colours.

Digital Fabrics_custom fabric printing_polyester fabric_Chevvy_5Digital Fabrics_custom fabric printing_polyester fabric_Chevvy_6

Chevy is a mid-weight 170 GSM fabric that is both durable and smooth to touch. Chevy is ideal for fashion garments designed to have structure to their form, whilst still being super comfortable to wear. We think the Chevy will be perfect for light suit jackets and blazers, bomber jackets, pants, culottes, shorts, skirts and dresses.

Digital Fabrics_Chevy_Tata NakaTata Naka

Digital Fabrics_Chevy_Vogue Spain

Vogue Spain

Digital Fabrics-Chevy_Markus Lupfer

Markus Lupfer

Whilst we think this fabric is most suitable for fashion applications, it’s durability, printed colour results and resistance to creasing would also make it a great choice for some interiors and events projects, such as tablecloths and banners.

Digital Fabrics_custom fabric printing_polyester fabric_Chevvy_1

Digital Fabrics_custom fabric printing_polyester fabric_Chevvy_4

Sample swatches of Chevy are available now through our Sample Pack Order Form. Get in touch with any projects you think our Chevy would be great for!

New London Fabric

We’ve been flat-out lately delivering fresh updates to our fabric stock range, and we’re very excited to introduce another polyester / spandex blend for you to get creative with! Say hello, to our new London fabric.

Digital Fabrics_custom fabric printing_polyester fabric_london_2

Digital Fabrics_custom fabric printing_polyester fabric_london_7

The London is a mid-weight, twill weave polyester fabric with just a little bit of stretch (95% polyester / 5% spandex), making it a really versatile addition to our polyester range. It’s 218 GSM makes it the sturdiest number out of our recent fabric additions.

Digital Fabrics_custom fabric printing_polyester fabric_London_3

Digital Fabrics_custom fabric printing_polyester fabric_London_7

The fabric has a matte surface, and a bright white base which results in really vibrant colours and crisp details when printing designs. This surface makes it perfect for designs with strong graphic elements and bold colours. The mid-weight fabric’s touch of stretch means it’s perfect for fashion garments that need to have both structure and a comfortable fit. We think the London will be ideal for trousers, jackets, outerwear and relaxed suiting. Wrinkle resistant London is perfect choice if you are looking for a fabric that doesn’t require much care.

Digital Fabrics_custom fabric printing_polyester fabric_London_4

Digital Fabrics_custom fabric printing_polyester fabric_London_1

Sample swatches of London are available now through our Sample Pack Order Form. We’d love to know what you’ll be using the London for, so get in touch!

Textile Collection Animalistic Innocence

This year’s big chill has had us dreaming of warmer climates, and in anticipation for sun drenched adventures and hot summer nights, our design team has been working hard on a new range of exotic prints for our fabric shop. We are very excited to introduce our new Animalistic Innocence Collection.

Animalistic Simplicity_Drawings_WIP_SketchDigital Fabrics_custom fabric printing_animalistic innocence_jungle print_peach palm design_2Digital Fabrics_custom fabric printing_animalistic innocence_jungle print_spot design_3

To create this playful range we we’re taking creative cues straight out of the Jungle Book, and wanted to create a visual narrative around the serene beauty of temperate forests, the thrill of being wild and the romance of being far away from home.

Digital Fabrics_custom fabric printing_animalistic innocence_jungle print_botanical design_3

Blush Garden_Cushion_Standing_Small_2Digital Fabrics_custom fabric printing_animalistic innocence_jungle print_coral leaves design_3

The gorgeous jungle inspired artwork for this range was painted using both inky watercolours and rugged dry brush techniques to create a variety of textures, line and form. It was important to maintain a naivety to the style of the design elements to give a sense of child-like wonder and curiosity.

Digital Fabrics_custom fabric printing_animalistic innocence_jungle print_leopard design_3

Instinct_Cushion_Standing_Small_2Digital Fabrics_custom fabric printing_animalistic innocence_jungle print_mustard leaves design_2

Colour was central when designing this collection and a palette of luxurious greens, blues, golds and blush pinks were chosen. All of the motifs were then digitally manipulated and layered to create lush repeat patterns, full of interest and drama.

Digital Fabrics_custom fabric printing_animalistic innocence_jungle print_dark design_2

Digital Fabrics_custom fabric printing_animalistic innocence_jungle print_dark design_4Digital Fabrics_custom fabric printing_animalistic innocence_jungle print_collection

The Animalistic Innocence Collection has been designed to help you shake off those winter blues by taking you off the beaten path, so go wild for your next DIY textiles project and let our playful range of prints stir up some creative instincts. We’d love to know what you think these designs would be perfect for so get in touch! Prints are available in our Design Library now.

New Whisper Fabric

We’ve been really committed of late to sourcing gorgeous new fabrics to offer all of our customers, and are very pleased to introduce the second NEW addition to Digital Fabric’s polyester range – the Whisper. If you’ve been dreaming of a fantastic alternative to silk, with a hint of stretch and zero sheen, then this dreamy fabric’s for you!

Digital Fabrics_custom fabric printing_polyester fabric_whisper_1

Digital Fabrics_custom fabric printing_polyester fabric_whisper_3

Whisper is a light-weight fabric with a matte finish and a bright white base, which provides excellent colour reproduction when printed. The fabric’s smooth textured surface makes visible the fine details of designs making it perfect for prints with lots of elements and / or texture.

Digital Fabrics_custom fabric printing_polyester fabric_Whisper_7

Digital Fabrics_custom fabric printing_polyester fabric_Whisper_10

The fabric is a polyester / spandex blend with a good amount of stretch, and has an ultra-fine surface. Whisper’s feel and flexibility makes it a perfect choice for fashion garments and accessories as it is really comfortable to wear, and soft to touch. Whisper’s slinky, liquid-like drape makes it a great matte substitute for silk, and is most similar to our Dilly fabric. We think this fabric will be just perfect for scarves, skirts, dresses, blouses, lounge-wear, undergarments and soft accessories.

Digital Fabrics_custom fabric printing_polyester fabric_Whisper_3

Digital Fabrics_custom fabric printing_polyester fabric_Whisper_1

Sample swatches of Whisper are available now through our Sample Pack Order Form. Get in touch with any projects you feel the Whisper would be fabulous for!

New Fabric Designs for Mother’s Day

We’re launching a new range of prints at Digital Fabrics! It’s been a little while since we brought you our last set of designs and this time we took a different approach to bringing you new prints. Rather than focus on one cohesive collection, we’ve had three artists create three different prints for you just in time for Mother’s Day!

Woodlands_Custom Fabric Printing_Digital Fabrics_Floral Fabric_Handpainted Botanical Prints

The collection of prints range from flirty to psychedelic to sophisticated, and feature both hand-painted illustration and digital manipulation. With three very different styles represented, we’re sure there’s something for everyone.

Vanity Fair_Custom Fabric Printing_Digital Fabrics_Novelty PrintsIf you’re needing fresh ideas on what to spoil mum with this Mother’s Day, we’ve got you covered and have put together a few DIY ideas that we just know you’ll both love. A custom made gift speaks volumes, and is guaranteed to be a winner with mum this year!

Sunshower_Custom Fabric Printing_Digital Fabrics_Floral Fabric_Colourful Floral PrintsGot accessories in mind for a mum who always looks fabulous? How about making a gorgeous and versatile scarf? For something bold or bright you might want to use either our Roxy or Dilly fabrics. If you were thinking of something a little more sheer we would recommend our super soft Chiffon.

Woodlands_Custom Fabric Printing_Digital Fabrics_Floral Fabric_Handpainted Botanical Prints_Custom ScarfIf you think home-wares might be better suited, how about a tablecloth? Our Cotton Linen is an absolute dream for a decadent feeling table setting and our Waratah and Panama fabrics are excellent polyester options for durability. You could also make napkins to match! And we can’t forget the ever perfect gift of a stunning, custom-made cushion! It could be the perfect opportunity to try out our new Organic Cotton Canvas that we’re very excited to introduce! Of course our Cotton Linen, Waratah and Panama fabrics are also perfect for cushion covers too.

Sunshower_Custom Fabric Printing_Digital Fabrics_Floral Fabric_Colourful Floral Prints_Custom CushionSo whatever your, or your mum’s style, there’ something here to get you started on any handmade Mother’s Day gifts you might have been thinking about. Let us know how we can help you realise your next DIY textile project!

These prints are now available for purchase in our Design Library!

Textile Collection Babushka

Exciting news from us at Digital Fabrics, we have launched a new textile collection! This time we dove head first into a private collection of vintage European textiles and found just the inspiration we needed! The Boho-Chic trend is one that pops up time and time again, and it’s for good reason. We just can’t get enough of bohemian patchwork, colours and textures, and have designed a range of prints heavily inspired by collected embroidery treasures.

Bohemian Fabric_Folklore Fabric_Custom Fabric Printing_Digital Fabrics_1Bohemian Fabric_Folklore Fabric_Custom Fabric Printing_Digital Fabrics_3

Whilst the boho design aesthetic is undoubtedly fabulous, the statement style can be a little overwhelming for some. We wanted to create timeless re-imaginings that pared-back the heavily embellished designs typical of bohemian textiles, resulting in versatile and accessible designs.

Bohemian Fabric_Folklore Fabric_Custom Fabric Printing_Digital Fabrics_Cherry Stitch_2Bohemian Fabric_Folklore Fabric_Custom Fabric Printing_Digital Fabrics_Boho Rose_2Bohemian Fabric_Folklore Fabric_Custom Fabric Printing_Digital Fabrics_4Elements of vintage textiles were scanned, redrawn and redesigned to create the Babushka collection. Finding the balance between streamlined design and textured details was key in maintaining the essence of folk embroidered pieces whilst still giving them a more contemporary feel, and negative space became as important a feature to focus on as the motifs and designs themselves.

Bohemian Fabric_Folklore Fabric_Custom Fabric Printing_Digital Fabrics_6

Bohemian Fabric_Folklore Fabric_Custom Fabric Printing_Digital Fabrics_7The collection features both flirty, feminine motifs and minimal, geometric design elements, whilst using bold contrasting colours to maintain a crisp aesthetic throughout the range. The range revamps vintage embroidered textiles, resulting in elegant, graphic designs that can be used for so much more than the blouses and table-wear that we so often associate with the bohemian style. We cannot wait to see what you create with these prints!

The Babushka Collection is available for purchase in our Design Library!

Simple Repeat Pattern Tutorial For Beginners

It would be safe to say that most of us are creative, we might love to doodle, paint, and create collages. Whilst these are all wonderful and inventive practices, what if you wanted to start developing these crafts into textile designs but didn’t have the digital design software skills to get your file prepared for fabric printing. What we would say is “learn it’!  Learn digital textile design in small bites. Start slowly, from converting your art into a digital format and getting to know basic Photoshop tools. Everything new can be overwhelming, but if you take one step at a time and slowly build your confidence, you will get the hang of it in no time. Below are some simple steps that will help you prepare your art for digital seamless repeat printing.

how to make a repeat patern_how to print fabric_rose fabric design_11

DIGITIZING – CONVERTING YOUR ART INTO A DIGITAL FORMAT

Start with an artwork painted onto a flat, one colour background that surrounds the artwork. For this tutorial we used a simple white plain background for the purpose of being easy, but any colour is fine.

To convert your artwork into a digital format you need to scan or photograph the artwork. Scanning at a resolution of 300 dpi is preferred. However, if you don’t have a scanner, photograph your artwork laid out flat, indoors with plenty of light (natural day light if best), holding the camera directly above the artwork, making sure there are no shadows of any kind interfering with the artwork.

CLEANING – DELETING UNWANTED ELEMENTS FROM AN ARTWORK

Open your artwork in Photoshop by selecting MAIN MENU > FILE > OPEN > CHOOSE YOUR ARTWORK FILE.

how to make a repeat patern_how to print fabric_rose fabric design

Using MARQUEE TOOL select the object or image that you want to repeat.

how to make a repeat patern_how to print fabric_rose fabric design_2

Now let’s bring the artwork or image that you want to repeat into a new document so you can start playing with it. While MARQUEE TOOL selection is active, (this will appear as ants running around the selected area) go to MAIN MENU > EDIT > COPY to copy selected area and FILE > NEW to open new document. NOTE: Photoshop is a very smart software. The area that you have selected will now determine the file size of the new document being opened. Click OK.

how to make a repeat patern_how to print fabric_rose fabric design_3

how to make a repeat patern_how to print fabric_rose fabric design_4

Whilst in the newly opened document select MAIN MENU > EDIT> PASTE to bring your selected artwork into the new document. It should paste by default in the middle of the new document fitting artwork well within the new document space. Nothing should be cropped out or hidden from view.

Now to clean your artwork. If your white background is slightly messy or the texture of the paper is visible, you will need to clean this up, since whatever you see on the screen will be printed onto fabric. To quickly ‘deep-etch’ or in other words ‘clean-up’, select the layer that you just brought in.  Then select the MAGIC WAND TOOL. Change the tolerance to low (we selected a tolerance measure of ‘4’ but you might need to adjust this number as it is based on your artwork). Tolerance is the rate at which the same or similar colours are selected when using the MAGIC WAND TOOL. The higher the tolerance the more of that colour will be found and therefore selected within the artwork.

Make sure the CONTIGUOUS box is ticked, this will ensure that only space around your artwork is being selected, and not that which is inside or a part of the drawn objects. Now once everything is prepared for selection click on the white background to select it. You can see on the image below that only the white background area is selected. While it is selected hit the DELETE button on your keyboard. This will remove the white selected background.

how to make a repeat patern_how to print fabric_rose fabric design_5


As you can see there is a little bit of another flower peaking through on the left side. Lets clean this up by using the simple ERASER TOOL. You can adjust the size of the eraser as needed at the top left of the screen. You can make the background layer invisible (this will then appear as little white and grey squares as seen below) to check that you have cleaned up all of the image. Simply zoom in to check the edges of your artwork and any potential unwanted marks left behind.

how to make a repeat patern_how to print fabric_rose fabric design_6

how to make a repeat patern_how to print fabric_rose fabric design_7

ADJUSTING COLOURS

The image is now clean, but colour wise the artwork is not strong enough. To brighten and intensify the colours of the image select MAIN MENU > IMAGE > AUTO CONTRAST.

how to make a repeat patern_how to print fabric_rose fabric design_8

You are almost done! To flatten your image select MAIN MENU > LAYER > FLATTEN IMAGE. All layers have now merged into one. Save the image as a JPG high quality file MAIN MENU > FILE > SAVE AS > SAVE.

Now you are done and ready to upload your file to print on to a fabric of your choice!

ROSE TUTORIAL IMAGE

REPEATING A PATTERN USING OUR FABRIC UPLOADER

Open the Fabric Uploader page.

Drag & Drop your image or click on the SELECT button to upload your ready to print artwork. Once your file is uploaded, you’ll be able to see it in the fabric preview window. You can scale your artwork up or down, simply by typing in and adjusting the artwork to the size you want.  Keep an eye on the DPI! This is the resolution and quality of your file. If your artwork is low resolution and is scaled up, the print result can be blurry.

Next step is to choose your Repeat type. This is the fun part! Play around with the different options and see how the variations impact your artwork in the preview window. Compare how the different options distribute your artwork across the width and the length of the fabric. Pick the one that suits your design idea best!

FULL DROP REPEAThow to make a repeat patern_how to print fabric_rose fabric design_10

MIRROR REPEAThow to make a repeat patern_how to print fabric_rose fabric design_9

Choose how many meters you wish to print simply by typing it into the quantity box and then select the fabric you want to print on. Remember that each fabric stock has a different width so be sure to check that the fabric you choose meets your needs.

how to make a repeat patern_how to print fabric_rose fabric design_11

P.S. This tutorial is designed to be very basic. If you are still struggling to prepare your artwork files, we recommend you attend one of the workshops on offer at our Digital Textile Design School to help you nail those Photoshop basics!

Check your artwork repeats seamlessly with Offset Filter in Photoshop.

  • Open your file in Photoshop. Main menu > File > Open
  • Check size of your image. Main menu > Image > Image size. Take note of the pixel dimension (PX) at the full resolution size.

How to design fabric_Digital Fabrics _textile design

  • Change the resolution to half of its value and take note of the changed pixel dimension. Keep these numbers handy as you will need them to offset your artwork. Don’t click OK at this stage, as you don’t want to change the resolution size, you only need the pixel information.

How to design fabric_Digital Fabrics _textile design tutorial

  • Once you have pixel dimensions noted you can offset and check your file for seamless repeat. Go to Main menu > Filter > Other > Offset. In the open box enter that half pixel values that you have noted down. Select option Wrap Around and tick the Preview option, so you can preview what is happening to your artwork. The side edges of the artwork will now be visible in the middle and the middle will become the sides. In other words the artworks sides got folded into the middle.

How to design fabric_Digital Fabrics _textile design_surface pattern

  • If your artwork in not in seamless repeat, you will see it in the middle of your artwork, through vertically and horizontally missed joins and miss matched lines. In some artwork this will not be obvious and you will need to zoom right in to the joining pixels to spot the issue.

How to design fabric_Digital Fabrics _textile design_surface pattern_pattern bank

  • When your artwork repeats seamlessly, there is no miss matched lines and elements of the artwork flows seamlessly.

________________________________________

If you are at the beginning of your textile and surface design journey you might want to consider our workshops and classes on offer or continue learning more online through our available tutorials.